Select the RIGHT photon polarization:

NON-LOCK LEVEL
- Turn OFF the servo of the electronic.
-
Take a look at the oscilloscope.
- Check if the reflected power is plugged on channel 1.
- At the front panel, push on "shift" button, then "setup" button.
- Under the screen panel push the "Recall saved Setup".
- On the right screen push "Recall Setup 2".
- Now you must note the no-lock level of the reflected diode in mV (Vna).
LOCK LEVEL
- Turn ON the servo of the electronic, and wait the cavity is locked
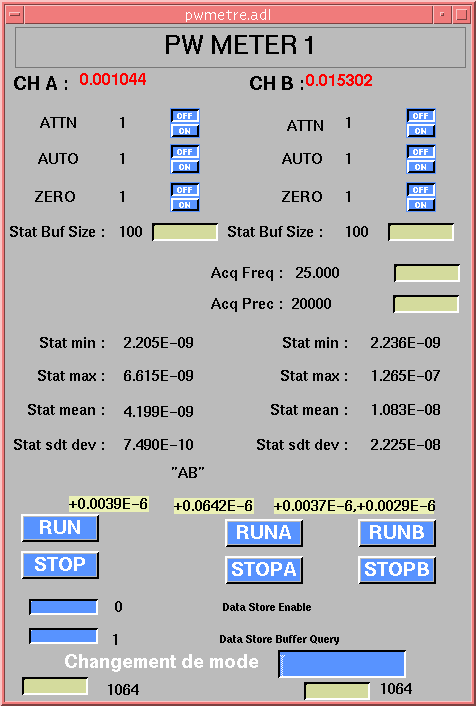
- Select the "Powermeter 2" Epics window on the optic table:
- Note the stat mean value and the standart deviation value on Channel A.
This value is the incident power of the photon beam. - Select the "Powermeter 1" Epics window on the optic table:
- Note the stat mean value and the standart deviation value on Channel A et B.
The value on channel A is the power on sphere S2, and channel B is the power on sphere S1, both staying after the optical cavity. - Take a look at the oscilloscope.
"Recall Setup 3".
Now you must note the lock level of the reflected diode in mV (Va).

TURN OFF THE LASER
- Take a look at the oscilloscope.
Select the "Recall Setup 1".
It is the predifined setup for the finesse mesurement with the reflected power. - Turn OFF the laser
- Go back to the oscilloscope and check if the decreasing power is well.
If yes, then:- Insert disk in the driver
- On the front panel push the "shift" button and the "waveform" button
- Under the screen panel push the "save waveform ChX"
- On the screen right push the "to file" button
- The device choose a name tekxxxx.csv
- Then, at the front panel of the oscilloscope, push on "shift" button, then "setup" button.
"Recall Setup 3".
Note the noise level of the reflected diode in mV (Vobs) - Note the stat mean value and the standart deviation value of the Channel A on powermeter 2, and values of channels A and B on powermeter 1.
Do the same thing for the LEFT photon polarization