|
GO
TO: Criteria Review and Approach
Documents (CRAD) & Lines of Inquiry (LOI) |
|
|
|||
|
Assessment
Plan Review an Assessment Plan |
|||||
|
Bruce Lenzer, QA/CI Assessment Specialist |
Date: |
July 31, 2015 |
|||
|
The more
formal the assessment the more critical it is to have an accurate plan. Call the QA/CI Assessment Specialist for
clarification. A rejected (Deleted)
plan or report must be accompanied by a comment or reason. It must be saved. The plan is then reviewed and, if
appropriate, revised by QA/CI prior to resubmittal. The Lead Assessor receives an
“Impending Assessment” email notification.
The notification includes: ·
A link to the Assessment Plan Template (click
the link to access); ·
An anticipated start and end date; and ·
Other relevant information. Complete
the Plan. ·
Coordinate
changes (or rejection) with QA/CI Assessment Specialist. ·
Save regularly. If the system “times-out,” you will lose
your content to the point of the last save. Below is
provided to define the sections of the template. |
|||||
Dates
are auto-generated from the Assessment Schedule.
If
blank, or dates have changed, manually enter a Planned
Start and End Date.

Planned Start Date: Date of anticipated start.
Planned End Date: Date of anticipated completion.
Changes made to this section will be updated on the
Assessment Schedule.
Defines
how narrow or broad the assessment is expected to be.
In
the space provided, state the purpose or reason the assessment is being
performed, and the general scope of the effort.
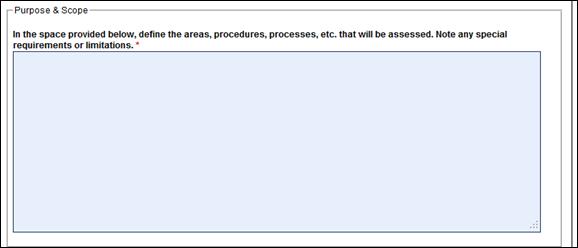
Example:
“Due
to challenges experienced with several experiment installations, the Physics
Division will review the Experimental Readiness Review process. The scope of this assessment is confined to
two projects taking place in Hall A.”
Define the
requirement (Federal, State, Local, Contract, etc.) that determines the need
for the assessment.
In the space
provided, enter or list the requirements against which the assessment is being
performed.
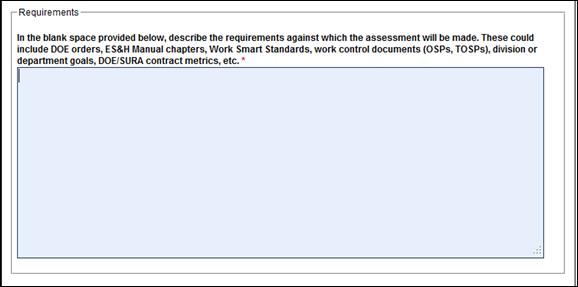
Example:
Requirements
could include: DOE Orders, ES&H Manual Chapters,
Departmental Instructions, etc.
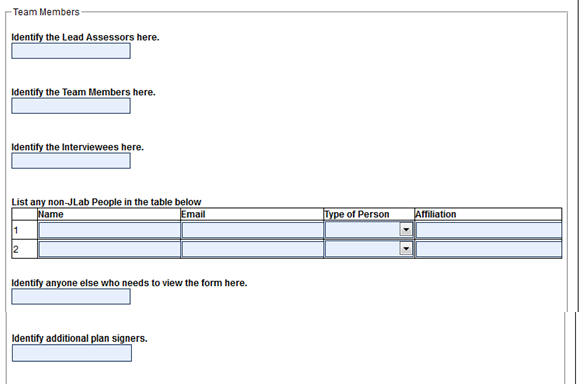
Step 4:
TEAM
MEMBERS AND
INTERVIEWEES:
Team Members must have a Jefferson Lab User Name and Password
(unless otherwise noted).
In the spaces provide identify the following positions:
·
Lead Assessor(s) – Enter the Lead Assessor’s
name. There may be more than one. All Lead Assessors have “write” access to the
Plan and Report documents.
·
Team Members – List all team members’ names.
·
Interviewees – Enter individuals’ names whom
the team expects to interview.
·
Non-JLab
People – Enter the
names, contact information, type/role/position, and company affiliation. This section
is for those who do not have a Jefferson Lab user name or password.
·
Anyone Else - Enter individuals who need to see the plan, or be informed of the
assessment. This section typically identifies managers,
supervisors, Associate Directors, etc. who are not directly involved in the
assessment.
·
Identify Additional Plan Signers
- add managers or others who have been
identified as appropriate to approve the plan although they may not be in the
usual management approval chain. When
you enter an individual’s name into the box another opportunity to enter a name
is provided. You do not have to take
advantage of this, only include as many individuals as
appropropriate.
Step 5:
SPECIFIC
AREAS BEING ASSESSED:
In the space provided, define the specific area(s),
procedure(s), or process(es)
being assessed. Note any special requirements or limitations.
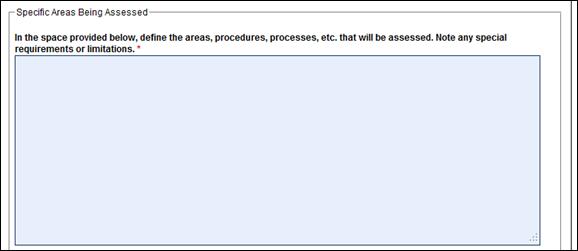
Example:
“The
Experimental Readiness Review (ERR) documents, updated to Operational Safety
Procedures, prior to a formal ERR.”
This section explains the responsibilities of the Lead
Assessor(s) upon completion of the Assessment.

Step 7:
CRITERIA
REVIEW AND APPROACH DOCUMENTS (CRAD) &
LINES OF INQUIRY (LOI)
These are required only if the CRAD
Approach “YES” box was checked when the Assessment Schedule was created.
·
CRADs:
The standards against which the assessment is being done. Enter each separately.
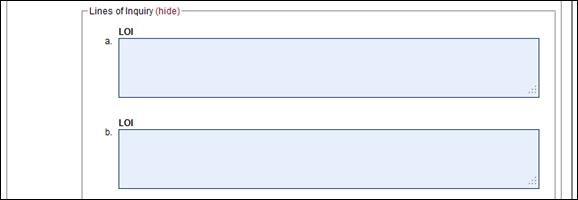
·
LOIs: Questions to be answered by
interviewees or team member research to determine whether the CRAD is met, partially met, or not met.
Example:
CRITERION 1 – Documents & Records are maintained
securely.
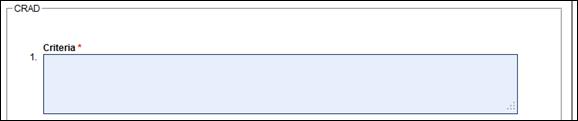
Enter one LOI per box. (For Example: a. Are Documents dated? b. Are
Records accessible?)
Click
“Add Criteria” button to save the Criterion and associated LOIs.
![]()
There may be special instructions, circumstances, or
other information that would benefit the assessment process.
Add comments at any time prior to final submittal. Once
you click on the “Submit” button (at the bottom of the page) and QA/CI signs
the Plan it is locked from further editing.

Click the “Add Comment” button to
attach additional comment(s) to the Assessment Plan.
This section allows you to transmit the Assessment Plan
to the Team Members for comments prior to final
submittal.
·
An email list is generated from the team
members listed.
·
Comments are captured dynamically in the Comments section for consideration by the Lead
Assessor(s).
·
Lead Assessor(s) should resolve comments
and document a disposition as needed prior to commencement of the assessment
and finalization of the Plan.

Often
there are associated documents, or web links, that need to be reviewed as part
of the Plan. These could include
procedures, checklists, or drawings.
To add a document or link: Click on the appropriate
button.

Step 11:
SAVE, SUBMIT, or DELETE:
SAVE
Button:
It
is recommended you save regularly, the plan will not be submitted, but content
will be saved. NOTE: If the system “times-out,” you will lose your content to the
point of the last save.
DELETE Button:
Click
the Delete button to delete the entire Plan.
It is recommended you contact the QA/CI Assessment
Specialist before executing a deletion.
SUBMIT
Button:
Use
the Submit button ONLY when the Plan is complete and all comments from the Team
Members have been resolved.
|
HINT: |
|
What Happens when you
click the “Submit” Button? o
Review: The Plan is sent to QA/CI
for review. (If there are questions or
issues, QA/CI will contact the Lead Assessor.) o
Approval: When the Plan is
acceptable, QA/CI will approve it.
(Once the Plan is approved it is locked from further editing.) o
Report Generation: An electronic Assessment
Report Template is automatically generated.
·
Information from the Plan is auto-populated into the Report Template. ·
The Lead Assessor will receive an e-mail notification when the Report
Template is ready for use. ·
Interviewees will receive an e-mail notifying
them of the upcoming assessment. ·
Others who have been added to the Team Member list will also receive an email
notification. |
When
the Plan is satisfactory click the “Submit” button to transmit it for appropriate
review and approval:

When you “Submit” a Plan your electronic signature, the
date, and the time are automatically recorded.

QA/CI approval is recorded in the
same manner.