|
GO TO: Criteria Review and Approach Documents (CRAD) & Lines of Inquiry (LOI) |
|
|
|||
|
Assessment Report Generate a Report |
|||||
|
Contact: |
Bruce Lenzer,
QA/CI Assessment Specialist |
Date: |
July 31, 2015 |
||
|
Assessment Reports
are generated by the Lead Assessor. If
an Assessment Plan was created and approved, information (such as Purpose and
Scope, Requirements, etc.) will be imported into the Report Edit/View Form. The Lead Assessor receives an “Impending
Assessment” email notification which will include a link to the Assessment Report Edit/View
Form.
The Lead Assessor edits the form to record data from the assessment. |
|||||
|
NOTE: |
|
|
This section is locked for Admininstive use
only.
|
|
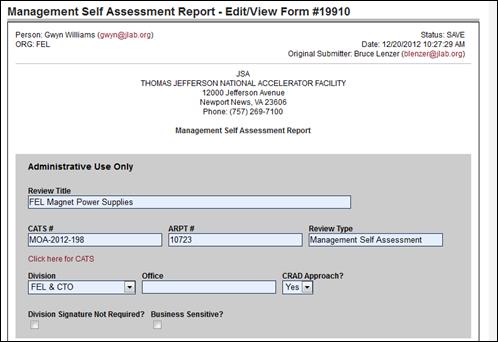
Step 1:
ACTUAL ASSESSMENT DATES
If an Assessment Plan was
approved these fields will be pre-populated.
Edit to reflect the actual timeline.
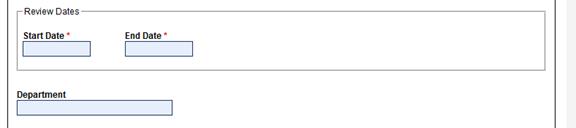
Start
Date: Actual date the assessment began.
End Date: When the interviews, or
other active portions of the assessment, ended; NOT when the final report will
be generated.
Department: Enter the actual department or division that
was assessed.
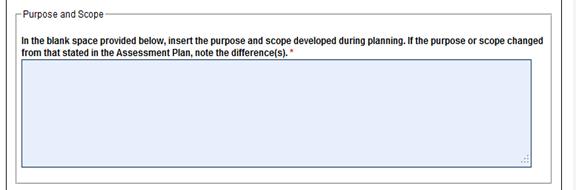
If an Assessment Plan was approved these fields
will be pre-populated. Edit to reflect the actual purpose or reason why the
assessment was performed as well as the general scope of the effort. NOTE:
This will NOT change the Assessment Plan.
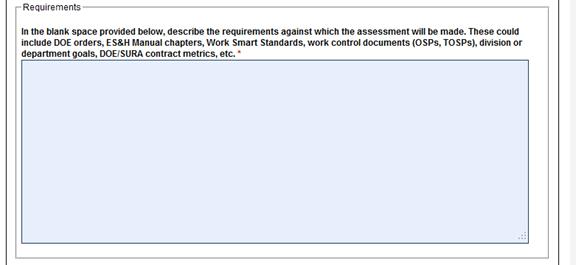
If an Assessment Plan was approved these fields
will be pre-populated. Add or edit to reflect actual
requirements. Requirements could come
from DOE orders, the ES&H Manual, work control
documents, etc. NOTE: This will NOT change the Assessment
Plan.
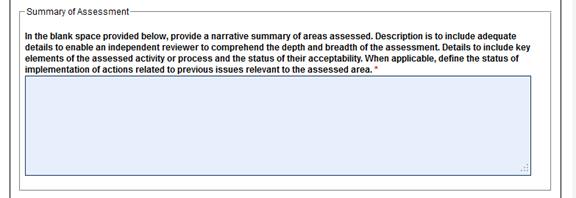
Step 4:
SUMMARY OF ASSESSMENT:
This
section summarizes what was done and what was found during the assessment. Include enough information to allow an
impartial reviewer to understand the depth of the assessment.
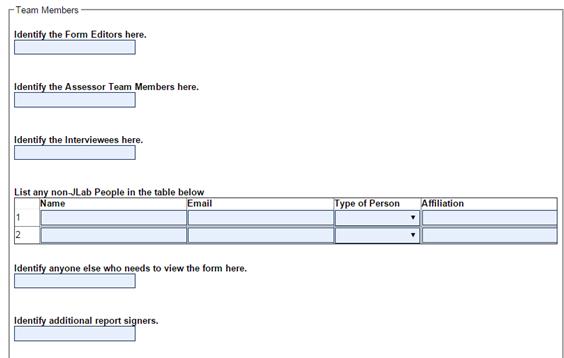
Step 5:
TEAM MEMBERS AND
INTERVIEWEES:
If an Assessment Plan was approved these fields
will be pre-populated Edit to reflect current
information.
(If
an individual does not have a Jefferson Lab User Name and Password, enter them
into “List any non-JLab People in the table below”
field)
·
Lead Assessor(s) – Enter the Lead Assessor’s
name. There may be more than one. Lead
Assessors have “write” access to the Plan and Report documents.
·
Team Members – Ensure all members are
listed.
When you enter an individual’s name into the box another opportunity to
enter a name is provided. You do not
have to take advantage of this, only include as many
individuals as appropropriate.
·
Interviewees – Enter individuals the
team interviewed. When you enter an individual’s name into the
box another opportunity to enter a name is provided. You do not have to take advantage of this, only include as many individuals as appropropriate.
·
Non-JLab
People –
Enter name, contact information, role of person, and company affiliation.
This section is for those who do not have a Jefferson Lab user
name or password. When you enter an individual’s name into the box
another opportunity to enter a name is provided. You do not have to take advantage of this, only include as many individuals as appropropriate.
·
Anyone Else - Enter names of other individuals who
need to see the Report, or be informed of the assessment. This section typically identifies
managers, supervisors, Associate Directors, etc. who are not directly involved
in the assessment. When you enter an individual’s name into the box
another opportunity to enter a name is provided. You do not have to take advantage of this, only include as many individuals as appropropriate.
·
Identify Additional Report Signers – add managers or others who have been identified as
appropriate to approve the report although they may not be in the usual
management approval chain. When you
enter an individual’s name into the box another opportunity to enter a name is
provided. You do not have to take
advantage of this, only include as many individuals as
appropropriate.
Step 6:
CRITERIA REVIEW AND APPROACH
DOCUMENTS (CRAD) & LINES OF INQUIRY (LOI)
Leave this section empty if the assessment does not
use the CRAD/LOI
approach.

Complete the CRAD/LOIs
If an Assessment Plan was
approved these fields will be pre-populated.

·
Criterion: This field will be pre-populated
·
Criterion Met? Determine to what degree the
Criterion was met from the determinations of the associated LOI. Pull down list will give you a choice of:
o Yes
o Partially
o No
o Not Evaluated
·
Lines of Inquiry These field(s) will be
pre-populated
·
Met? Pull down list will give
you a choice of:
o Yes
o Partially
o No
o Not Evaluated
·
JLab Compliance Description document the steps taken to
determine the answer to the LOI. (Examples are shown
above)
To Add a CRAD and LOIs click the “Add Criteria”
Button. (You can add to the
pre-populated list, or generate a new list)
![]()
·
CRAD: The
standard(s) by which the assessment is being judged. At the end of the assessment, each CRAD is determined to be met, partially met, or not
met. Enter each CRAD
separately.
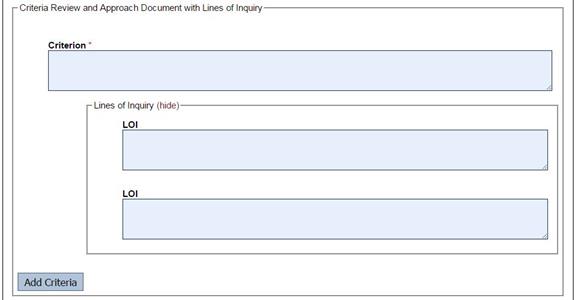
·
Criterion: Enter the standard or
process which is being evaluated.
·
LOI:
Enter the steps, or categories, which the Criterion can be broken down to
determine the status level of the Criterion
·
LOI:
These are the questions asked to determine the status of the CRAD. Each LOI is determined to be Met (= Yes); Partially
Met (= Partially); or Not Met (= No).
Enter questions in the space provided.
To Save (or Add) another CRAD click the “Add
Criteria” Button.
Findings:
Were there any findings
identified during the review? (Comments are required if no corrective action
will be taken.)
This section is completed after the Criteria Review
and Approach Documents and Lines of Inquiry (CRAD
& LOI) have been rated. If CRAD & LOI were NOT used, complete this section to reflect
assessment outcome.
·
If there are no findings identified click the “No” radio button and
continue to the next section.
·
If there were findings click the “Yes” radio button and input the
following information:
o
Finding – A failure to meet a
requirement. Enter the description of
each Finding. Ensure the description is
detailed enough so an impartial reviewer can understand the intent.
o
Corrective Action? select
“Yes” or “No” to indicate if corrective action is expected. If you don’t know, leave this blank. When the report is circulated for comments,
managers, or other parties with decision making authority, will make the determination.
o
Comment/Justification – A justification is
required if no corrective action is to be taken. Otherwise this field may be left blank or
used to comment on the finding.
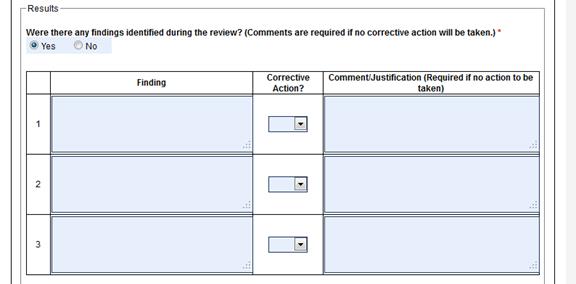
NOTE: The form will not allow final signatures until these
fields are filled in.
Opportunities For Improvement: Were there any Opportunities for
Improvement (OFIs) Identified during the Review?
This section is completed after the Criteria Review
and Approach Documents and Lines of Inquiry (CRAD
& LOI) have been rated. If CRAD & LOI were NOT used, complete this section to reflect
assessment outcome.
·
If there are no Opportinities for Improvement
identified click the “No” radio button and continue to the next section.
·
If there were findings click the “Yes” radio button and input the
following information:
o
Opportunity for Improvement
(OFI) – a deviation from best business practices; a minor
deviation from procedure; or a CRAD that has only been
partially met. Enter a description of
each OFI.
Ensure that the description is detailed enough so an impartial reviewer
can understand the intent.
o
Corrective Action? select
“Yes” or “No” to indicate if an action is expected to be performed to correct
the OFI. If
you don’t know if Corrective Action is expected, you can leave this blank in
the initial draft report. When you
circulate the report for comments, request that managers, or other parties with
decision making authority, make the determination.
o
Comment/Justification – A justification is
required if no corrective action is to be taken. Otherwise this field may be left blank or
used to comment on the finding.
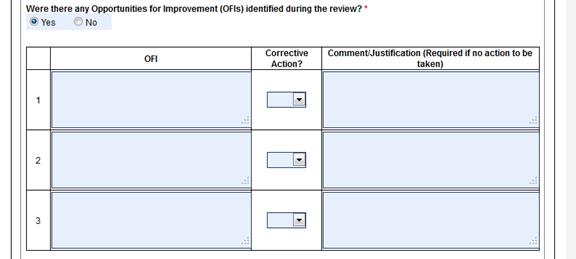
NOTE: The form will not allow
final signatures until these fields or properly filled in.
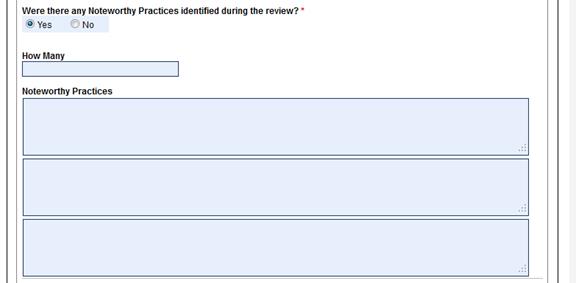
Noteworthy Practices: Were there any Noteworthy Practices identified
during the review?
This section is completed after the Criteria Review
and Approach Documents and Lines of Inquiry (CRAD
& LOI) have been rated. If CRAD & LOI were NOT used, comple this
section to reflect assessment outcome.
·
If there are no Noteworthy Practices identified click the “No” radio
button and continue to the next section.
·
If there were findings click the “Yes” radio button and input the
following information:
o How Many? The number of Noteworthy Practices must match the number of
descriptions.
o Noteworthy Practices activities that are considered worthy of imitation in
similar situations elsewhere in the lab.
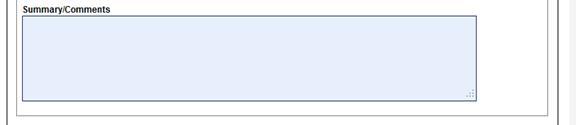
Summary/Comments:
Include any results that are
not included as findings, OFIs, or noteworthy
practices.
Step 8:
EFFECTIVENESS EVALUATION:
Use this section to summarize the assessment team’s
conclusions about the overall effectiveness of the area and processes
assessed. Do not repeat the findings, OFIs and noteworthy practices, but be consistent with the
outcome.
Prior to submitting for approval, the Lead Assessor
may provide the report to others for review.
Click the “Send Request for Comments E-mail” button to send the report
to those who might be interested. It is
recommended that the Team Members be offered the opportunity to review the
Report
![]()
Step 10:
CONFIRMATION
The Lead Assessor must confirm that the review has
been performed properly.

Step 11:
SAVE, SUBMIT, DELETE,
PROCESS
SAVE Button:
It is recommended you
save regularly, the report will not be submitted, but content will be
saved. NOTE: If the system
“times-out,” you will lose your content to the point of the last save.
DELETE Button:
Click the Delete button to delete the entire Report. It is recommended you contact the QA/CI Assessment Specialist before executing a deletion
SUBMIT Button:
Click the Submit button when
all information has been input and the report is ready for approval.

PROCESS
Button:
After the report has been
approved the Lead Assessor may request the report be processed.
![]()
Often providing documents to confirm the assessment
findings is helpful. Click “Add File”
or “Add URL” to include additional information.

Authorized signatures are added when the report is
submitted.
![]()
|
NOTE: |
|
Reports Requiring Original
Signatures Original
laboratory management signatures are required on independent
assessments. The Laboratory Director will
not sign off on an assessment report electronically. Perform this procedure when original
laboratory management approval is required. 1.
After all signatures are in place, created a hardcopy of the
report. ·
Use cut and paste editing to populate the hardcopy template: ·
Review the hardcopy report carefully for typos, misspellings,
grammatical errors, lack of clarity, etc.
Remember these hardcopy reports will be read by senior
management. If changes are made to the
hardcopy they must also be made to the electronic copy. ·
Ask the QA/CI Manager and ES&H Director
to review and if acceptable, approve the report. 2.
Submit the hard copy to the lead assessor and anyone else who signed
the “on-line report” and request they sign the hardcopy report. 3.
Submit the signed hardcopy report to the ES&H
Director and request submission to the Laboratory Director and others as appropriate. 4.
When all signatures are in place, scan the document and attach the
scanned file to the on-line report. |
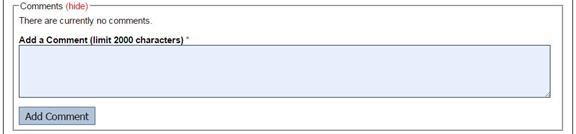
Comments may be added at anytime,
by anyone. Typically
to clarify content or relay information.
Once added they become a permanent part of the report.
Resolve any comments before submitting the report.